Hello, this post shares some tips for JupyterLab. It is prepared with JupyterLab version 4.4.7 that is used in one of the labs of the PyTorch for Deep Learning.
Finish the function’s name, type left parenthesis, press Shift + Tab, and the doc appears. If the function belongs to a library (e.g. numpy), the library must have been imported for the doc to appear. This saves time navigating the documentation website.
Start typing a name, press the Tab key and a menu of matched name appears. If the desired name belongs to a library, the library must have been imported for it to show up in the menu.
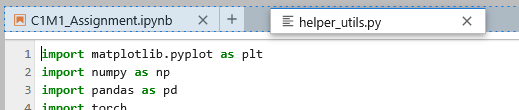
At times, we may want to view two files side by side, like the lab on one side and, on the other side, the utility script file that contains the interesting helper function.
With both files already opened, drag one of the tabs to where it should be placed in the split view.
In Menu: Settings > Settings Editor > Notebook, you may configure the coding experience with Code cell, Markdown cell and Raw cell respectively. Here we focus on Code cell and explain some of the options.
Auto Closing Brackets: when you type the left bracket, the right bracket is automatically typed. This works for quotation marks as well. This way, you won’t miss closing them.
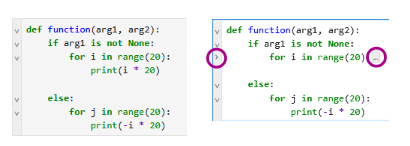
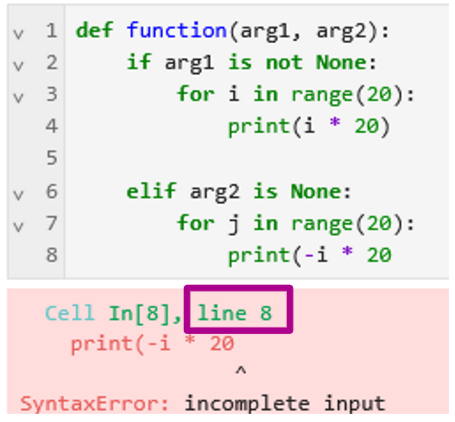
Code Folding: code blocks (e.g. def, while, for, if, else, with, ...) may be folded up. It is helpful, for example, to fold a long elif block to skip to the else block of interest.
Rulers: it is recommended in PEP 8 (Style Guide for Python Code) that all lines should be limited to 79 characters and text blocks (docstrings or comments) to 72 characters.
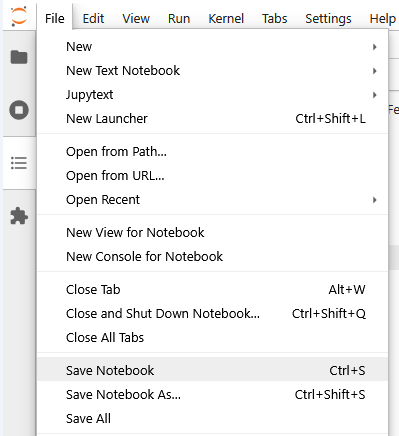
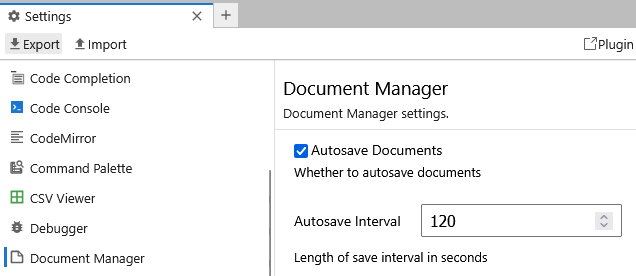
In Menu: Settings > Settings Editor, there is a Export and a Import button that you can download and upload the settings in JSON file. This is useful to back up your settings, name and manage different settings, and synchronize your preferred settings among different labs/assignments and your local Jupyter.
Before importing a settings file, it is recommended to export and back up the current settings so that you can roll back any time.
To check what the imported settings are different from the default, examine the setting groups listed under MODIFIED. In these groups, next to the name of a modified setting, there is a “blue vertical bar”, so you may easily identify all the changed values.